
The setup screens for Drivers Guides and Vehicles are identical. This section applies to the setup of all three.
|
|
The setup screens for Drivers Guides and Vehicles are identical. This section applies to the setup of all three. |
|
|
Driver/Guide/Vehicle Category must be set up prior to setting up Drivers, Guides or Vehicles. |
|
|
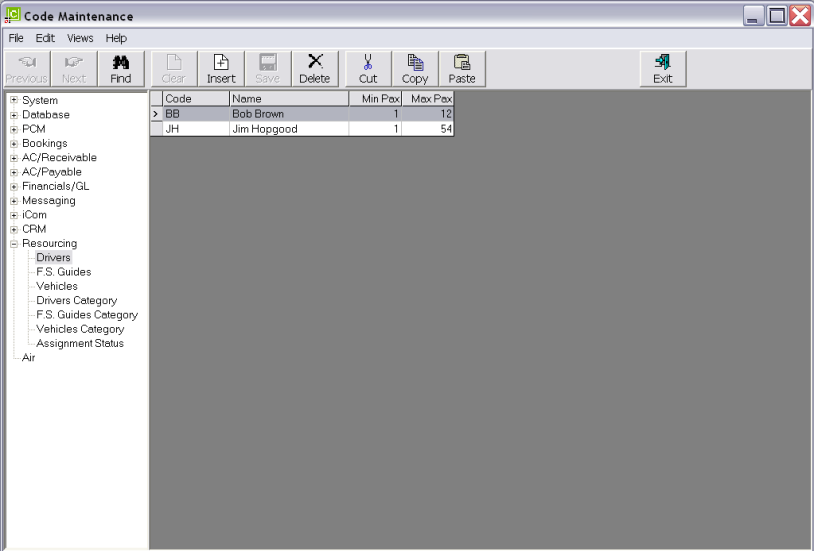
On initial entry to the Drivers/Guides/Vehicles node, any existing records will display. |
Screen Shot 164: Resource 1 (Drivers) Node
|
|
The column headings at the top of the scroll are the only column headings available in this screen. |
To modify an existing record, highlight the row and double click.
To delete an existing record, highlight the row and click the Delete button in the button bar.
|
|
The Code field cannot be changed. Records cannot be deleted if they have been used in Resource Assignments. |
To create a new Resource record, select the appropriate menu node—Driver, Guide or Vehicle—and click the Insert button in the button bar.
Screen Shot 165: Resource 1 (Driver) Record Dialogue
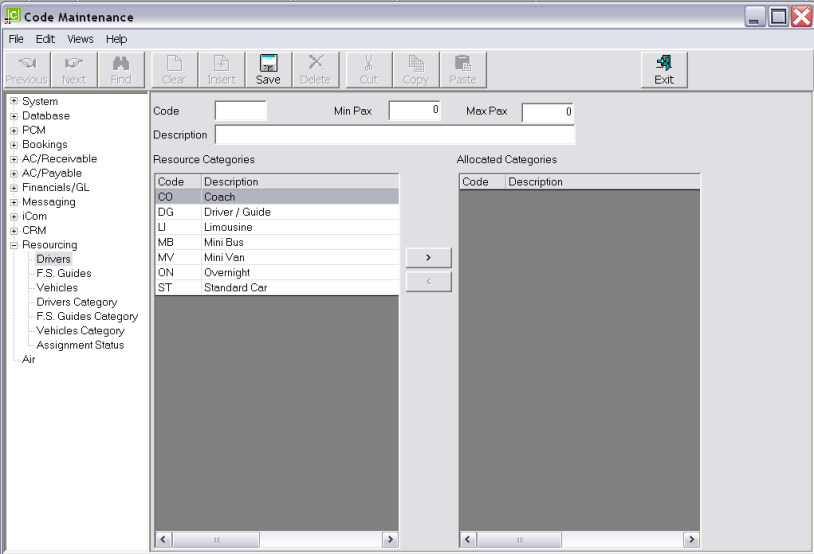
Code (3 Chars)
A code for the Resource record.
Description (30 Chars)
The Resource description.
Min Pax/Max Pax (Integer 5)
If the resource (e.g. the Driver) has limitations on the size of (e.g.) the vehicle(s) they are able to drive, then the limitations can be expressed in the Min/Max pax fields. If a driver is only licensed for Limousines, then the Min/Max could be 1–4. The driver would not be able to be assigned to e.g. a group of 15 pax.
Resource Category/Allocated Category
Available defined category will display. These will differ depending on whether Drivers, Guides or Vehicles are being set up. To add an Allocated Category to the resource, click the > button. To remove an Allocated Category from the resource, click the < button.
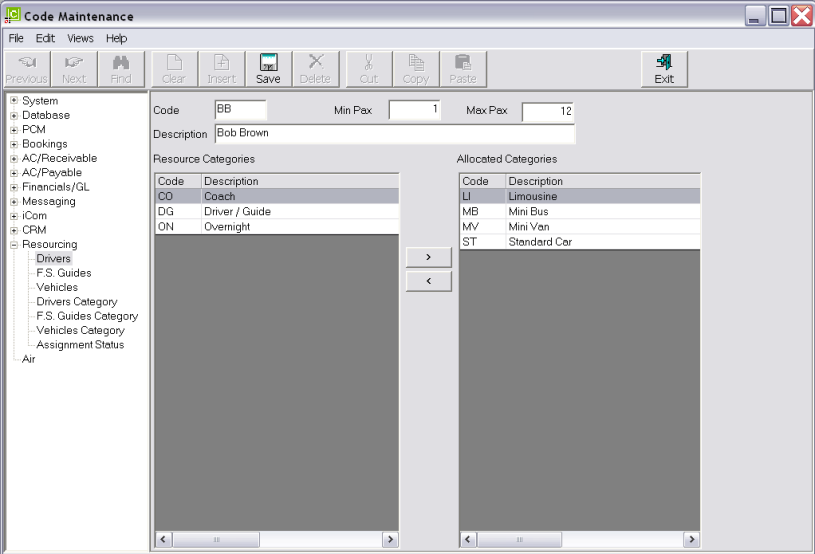
Screen Shot 166: Completed Resource Dialogue
|
|
To return to the resource scroll, click the appropriate Resource menu node under the Resourcing Menu. |
(continued in Driver/Guide/Vehicle Category)
 Tourplan iS V2.07 System Setup Training Guide